

A new layer of paint can completely refresh your home like pressing the reset button on your walls. Residential painters in Chadstone know this well. Whether you want a light color that breathes airiness into your home or a dark hue that wraps it in cosy warmth, colour choices can dramatically shape how a room feels. And the secret to getting that magazine-worthy finish? It all starts with the painting prep work.
Good painting isn’t just about rolling colour on a wall. It’s about what lies beneath. That’s right—the real magic begins long before the paintbrush comes out. Prepping the walls ensures your paint adheres smoothly and lasts longer. Want to make your furnishings pop? Choose the right colour. Want your paint to look like it does on the tin? Prep those walls like a pro. Touching up a wall with the same colour might seem simple, but without preparation, even that can turn messy.
Let’s dive into what goes on behind the scenes before the paint hits the wall.
Requirement for Wall Prep Before Painting
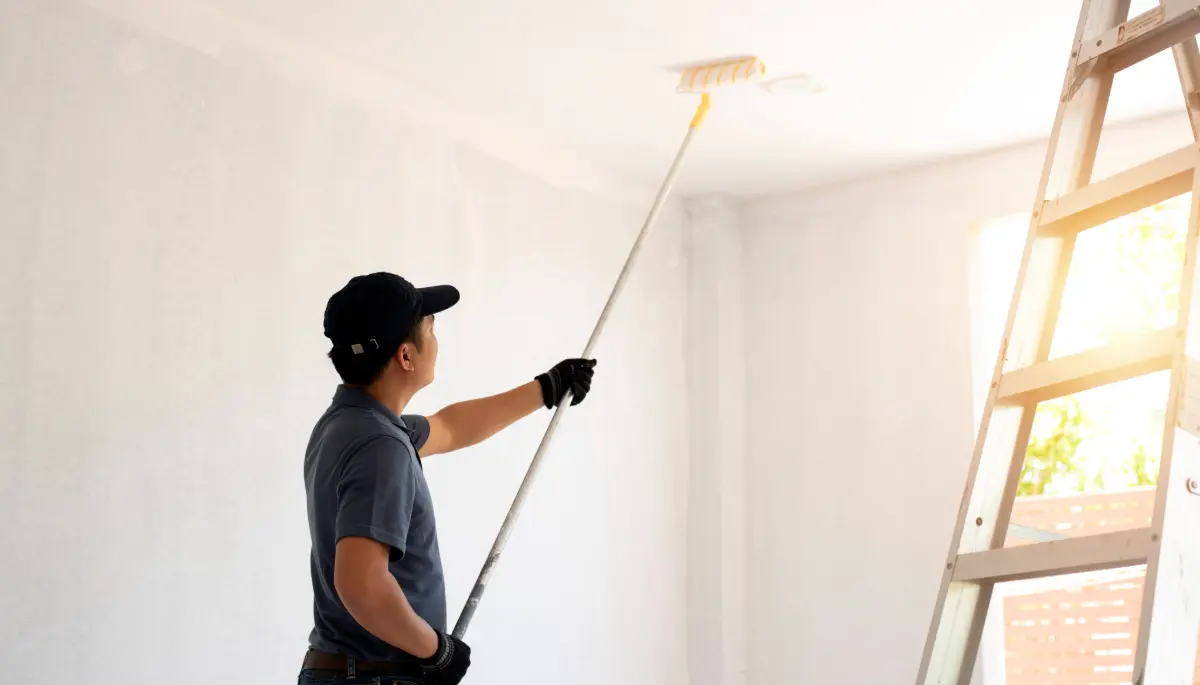
To get that flawless finish, you need more than just a steady hand. You need the right gear. Think of it as packing your toolbox before heading out on a road trip—you don’t want to find out halfway through that you forgot the spare tyre.
The tools painters bring depend on how your walls are holding up—some surfaces just need a gentle touch, others need the whole toolbox.
- Primer
- Sugar soap
- Sponges
- Gloves
- Mask
- Wallpaper stripping solution
- Paintbrush
- Roller and tray
- High-quality paint
Residential painters in Chadstone usually bring all the tools and materials with them, so you won’t need to worry about gathering supplies. Sit back, relax, and let the experts handle the mess (and the cleanup).
Prep for New Plastered Walls
Got freshly plastered walls? Here’s the deal—they need to be completely dry before you even consider painting them. Plaster can take more than four weeks to fully dry. Painting too soon is like icing a half-baked cake—it might look fine for a while, but it won’t hold up.
Dark patches are clear indicators that the plaster still contains moisture. Once the surface is dry and even, the first step is to apply a primer coat. It seals the surface and prevents the paint from disappearing into the plaster. Bare walls can absorb paint faster than a sponge in a puddle.
To enhance the primer’s effectiveness, professionals often use a thinned-down emulsion as an undercoat—three parts paint to one part water. This allows the paint to penetrate just enough to adhere without soaking through.
Once that dries, painters cut in the edges and corners, giving you sharp, neat lines that make a significant difference in the final look. From there, the real color is applied. After sealing, lining paper can be added for extra smoothness and to conceal surface imperfections. It’s like giving your wall a soft blanket before dressing it up.
If you’re curious about adding more character to your walls, exploring different textured painting options can offer inspiration for your next project.
Prepping for Painted Walls
If you think previously painted walls are ready to go, think again. Even those need some attention before a new coat. It’s like repainting over cracked nail polish; the new color won’t sit properly if the surface underneath isn’t smooth.
Start with a close inspection. Are there cracks? Flaky spots? Bumps? They all need fixing. Residential painters know how to address these issues. They’ll fill in cracks, smooth out rough patches, and ensure everything is level before the painting starts.
Cleaning the walls is essential. Paint won’t adhere to dust, grease, or spider webs. Sugar soap is often used to scrub everything down gently but thoroughly.
Even if the surface looks fine, sanding is recommended. A light sanding smooths things out and helps the fresh paint adhere properly—no one wants flaky walls a month later. Skipping this step? That’s how you end up with peeling paint after a few months.
After repairs and sanding, it’s time for primer again. Especially over patched areas, primer ensures the topcoat goes on evenly and looks consistent. You’d be surprised at how much this step enhances the finish.
Why Wall Prep Makes All the Difference
Think of painting like baking a cake. You wouldn’t frost it while it’s still hot from the oven, right? Same concept here. Preparation lays the groundwork for a beautiful result.
Skipping prep might seem like a time-saver, but you’ll regret it later. Poor adhesion, patchy color, flaking, or uneven finish—all common when prep work is rushed or neglected.
Prepped walls:
- Help paint stick better
- Result in smoother finishes
- Improve paint longevity
- Make colours look vibrant and accurate
At the end of the day, wall prep isn’t optional—it’s essential.
Common Mistakes Homeowners Make
DIY painting can be rewarding, but it’s also where most prep mistakes happen:
- Painting over damp plaster
- Not cleaning greasy or dirty walls
- Skipping sanding
- Using the wrong primer (or none at all)
- Applying too thick a paint coat to cover imperfections
Professional painters know these traps and avoid them every time. It’s their bread and butter.
Extra Touches That Make a Big Impact
Beyond the basics, painters in Chadstone often go the extra mile:
- Using drop cloths to protect floors and furniture
- Taping around trims and fixtures for crisp edges
- Working in well-ventilated spaces helps with drying
- Watching the weather—humidity affects drying time
Each of these might seem minor, but together they make a massive difference.
Why Hire Professional Residential Painters in Chadstone
You could spend your weekend patching, sanding, and taping—or let someone else do it while you enjoy your coffee.
Residential painters in Chadstone don’t just bring experience—they bring precision. They know which brush to use for which corner. They understand how much sanding is enough. They’ll spot imperfections you wouldn’t notice until it’s too late.
Hiring professionals also means faster completion, fewer mistakes, and better results. You get a polished look that lasts longer and don’t have to clean up afterward.
Not sure where to start with your repainting journey? You can always brush up on the residential painting basics before diving into prep and colour choices.
A Few Final Thoughts
Painting is a craft. The smoother the canvas, the better the painting. Your walls deserve a little pampering before they get their new coat.
At Quest Paintings, we believe in doing things right the first time. That means preparation that’s as solid as the paint itself. Whether it’s a new build or a quick refresh, we treat every wall with care.
If you’re ready to give your home a fresh face, we’re here to make the process smooth, literally and figuratively.
