


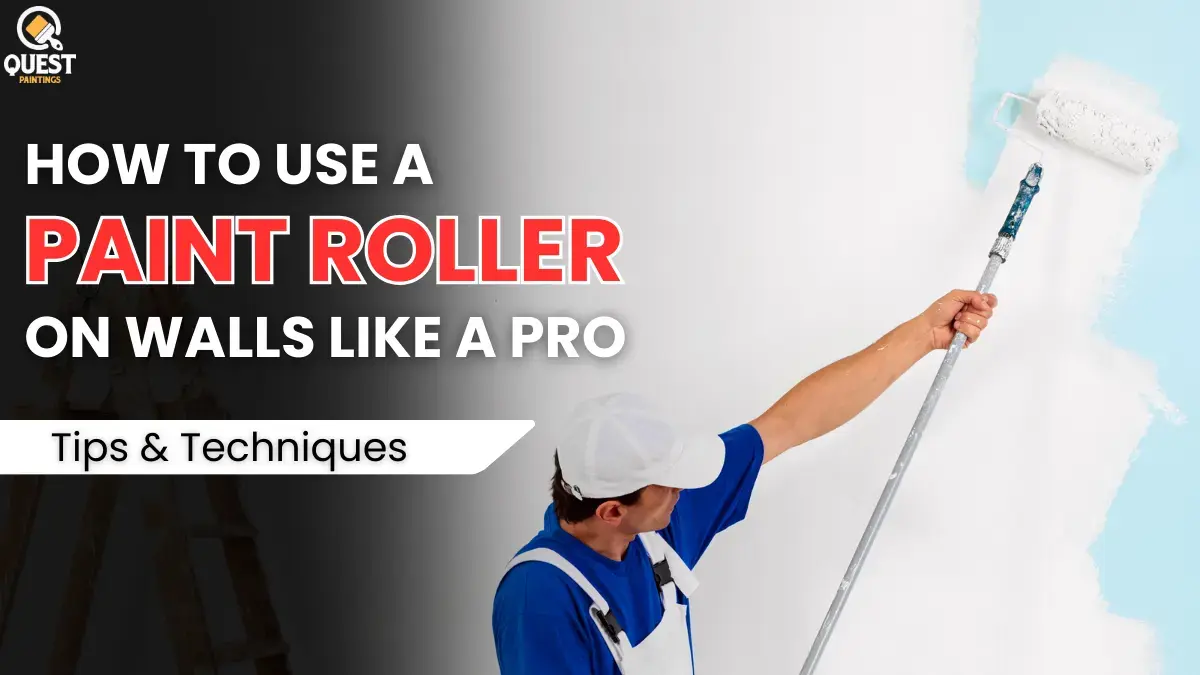
Painting a wall with a roller may seem simple at first glance, but it takes a little preparation and the right approach to get a clean, even finish. Whether you’re giving your living room a quick makeover or working on a larger home project, knowing how to handle a paint roller properly can make a big difference in the end result.
Here, we’ll walk you through the steps of painting a wall using a roller, along with some helpful tips for getting a smooth finish. We’ll also explain how to properly clean a paint roller so you can keep your tools in tip-top condition for the next job.
Choosing the Right Paint Roller
When you’re painting walls, the roller you choose plays a big role in how smooth the final look is. The wrong roller can leave patches, while the right roller helps you get an even, neat finish. Rollers come in a variety of widths and nap sizes, and you should choose them based on the texture of the wall. Smooth surfaces work best with a short nap, while rough surfaces need a longer nap to hold more paint. This helps spread the paint better and avoid streaks or patchy spots.
Types of Rollers
Paint rollers come in a few common sizes and designs to suit different parts of the project. Below are the two main roller types that you’ll use for most jobs:
- Standard rollers: These rollers are usually around 230mm wide and work great on larger surfaces, such as ceilings or large wall areas. They help cover the space quickly and give a clean finish.
- Mini Rollers: These smaller rollers, usually around 100-150mm wide, work well for narrow spaces, corners and tight areas where a full-size roller can’t easily reach.
Roller Nap Length
The nap of the roller, or the thickness of the roller cover, plays a significant role in how much paint the roller holds. Choose a nap based on the texture of the wall so that the paint spreads easily:
- Short nap (6-8mm): Use this on smooth, flat walls and when applying gloss or semi-gloss paint.
- Medium nap (10-12mm): This option works for most everyday painting tasks. It’s suitable for low-sheen and flat paint and is suitable for general interior surfaces.
- Long nap (20-32mm): Choose this for rough walls such as concrete or textured finishes. A long nap helps the roller carry more paint, giving the surface more coverage.
Choosing a Roller Material
Rollers come in a variety of materials, and each works best with certain types of paint and finishes:
- Man-made fibers: Rollers made of nylon or polyester hold up well and bond well with water-based paint. They spread paint easily without shedding.
- Natural fibers: Covers made of sheep’s wool or mohair work better with oil-based paint. They hold more paint and give a soft, clean finish.
- Foam rollers: These rollers are great for gloss paint and help create a shiny look, but they don’t handle textured walls well and can’t spread paint evenly on rough surfaces.
Also Read: How to Painting Terracotta Tile Roofing: A Complete Guide
How to Paint with a Roller in Easy Steps
1. Start with Quality Painting Tools
Your tools determine how easy your painting job becomes. Always choose good quality rollers, sturdy roller frames, deep paint trays and strong extension poles. These tools help you apply paint evenly, give better coverage and make the job easier. Cheap or old wall paint rollers leave lint, marks or streaks that can ruin the finish. So choose durable tools that are easy to clean and match the paint you are using. If you want the best results, Asian Paints’ trained painting contractors bring the right set of tools with the necessary expertise to give your walls a clean, long-lasting finish.
2. Use a good paint roller cover
The roller cover you choose plays a big role in the final look of your wall. Choose a cover with the right nap length for your surface. If you’re painting smooth walls like drywall or trim, choose a short-nap roller for a clean, attractive finish. For rough or textured areas like stucco or uneven wood, a long-nap roller helps the paint reach all the little gaps.
Also, check the roller cover material. Synthetic covers work best for latex paints, while natural options like lambs wool work best for oil-based paints. Choose the right roller design for the wall so your paint spreads evenly without extra effort.
3. Load the roller cover with paint
Properly loading the roller helps you get even coverage without messy drips. Start by filling the paint tray with the right amount of paint. Dip the roller halfway into the paint, then roll it back and forth along the edges of the tray until the paint spreads evenly over the cover. Don’t over-wet the roller, as excess paint will cause drips, spatter, and waste. A well-loaded wall paint roller gives you smooth strokes and a consistent roller design for the wall.
4. Prepare the surfaces for painting
Before you start rolling paint on the wall, make sure the surface is clean and ready. Clean off dust, grease, and dirt using a mild cleaning solution, then rinse it thoroughly. Fill any small holes or cracks with spackling paste and sand it down once it dries. If there are any bare patches on the wall, apply a coat of primer so that the paint sticks well and absorbs evenly. Proper prep work sets the stage for a smooth paint job and keeps your walls looking fresh for longer.
5. Roll the paint onto the main surface
Once you have your roller ready and the surface prepped, start painting. First, “cut in” the edges using a brush—this means painting the corners, trim, and borders so that you can blend the roller strokes easily. Then use a roller to paint larger areas. Move the roller in a “W” or “M” shape and slightly overlap each stroke to fill in the space. Work in small sections so that the paint stays wet as you blend. Continue this pattern until the entire wall is easily covered.
6. Avoid fat edges and roller marks
To get a professional finish, you should avoid thick edges or roller lines. Slightly overlap each section to maintain an even texture and color. Move the roller in straight, steady strokes from top to bottom while applying even pressure. If you see a dripping or thick stain, roll it gently with a dry roller to smooth it out before it dries. These small steps will help you avoid visible marks and keep the finish clean.
7. Use proper paint roller technique
Good technique makes your work cleaner and faster. Try different types of paint rollers and practice simple paint roller tricks until you feel comfortable. Hold the roller at a gentle angle and use steady, even pressure. Don’t press too hard, or you’ll leave streaks. Roll in one direction, using long, smooth strokes—usually up and down. Avoid rolling over areas that have already started to dry, as this creates streaks and a patchy texture.
8. Apply the paint, spread it out
When you’re applying paint with a roller, start by applying a generous amount, then spread it out slowly. Apply the paint generously so that it covers the wall, then use long strokes to spread it evenly across the surface. Move from one side of the wall to the other, blending as you go. This helps you avoid uneven patches and gives your wall a clean, even finish that looks professionally done.
Give your home a fresh look
If you want your walls to look perfect without any stress, our team of Professional House Painters Balwyn at Quest Paintings is here to help you. We offer high-quality house painting, interior painting, and exterior painting services. Our skilled painters work with utmost care to make your home look brand new. Whether it’s a small room or an entire house, we do every job with precision. Choose us to make your walls smooth, colorful, and beautiful. Don’t wait – let Quest Paintings bring life to your home today!
Conclusion
In conclusion, learning how to use a paint roller properly can help you achieve clean, professional results on any painting job. When you choose the right roller, prepare it well, load it with the right amount of paint, and follow simple steps like using a W pattern, smooth overlaps, and keeping a steady wet edge, you’ll get an even and neat finish every time. Make sure you wash your roller properly and store it properly so you can reuse it for your next projects.
Read More: How To Prepare a Weatherboard House For Painting: Expert Tips
FAQs: Frequently Asked Questions
Q1. What is the correct way to use a paint roller?
The correct way to use a paint roller is to load it evenly with paint, roll it in a steady pattern on the surface, and keep the edges wet so that lines or marks do not appear on the wall. You should also pay attention to the type of design roller for wall painting before starting to paint the wall, as the design of the roller should match the look or space you want to create.
Q2. How do you roll paint smoothly?
To roll paint smoothly, make sure your wall paint roller has the right amount of paint, move it in long, steady strokes, and slightly overlap each stroke to keep the edges wet. Choosing a good quality design roller for wall painting also helps you get a smooth and clean finish.
Q3. How much paint to put on the roller?
Dip the roller lightly in the paint so that it covers less than half of the roller surface. Then roll it back and forth on the tray ramp so that the paint spreads evenly on the roller cover.
Q4. How do you prepare a roller for painting?
Before you start painting, gently press painter’s tape onto the roller cover to remove lint. Then, lightly dampen the roller and wipe off excess water with a paper towel. Then roll the cover into the deep end of the paint tray so it’s ready to use.
Q5. Should paint rollers be dry?
It helps to lightly dampen the roller cover with water before starting a paint job.
